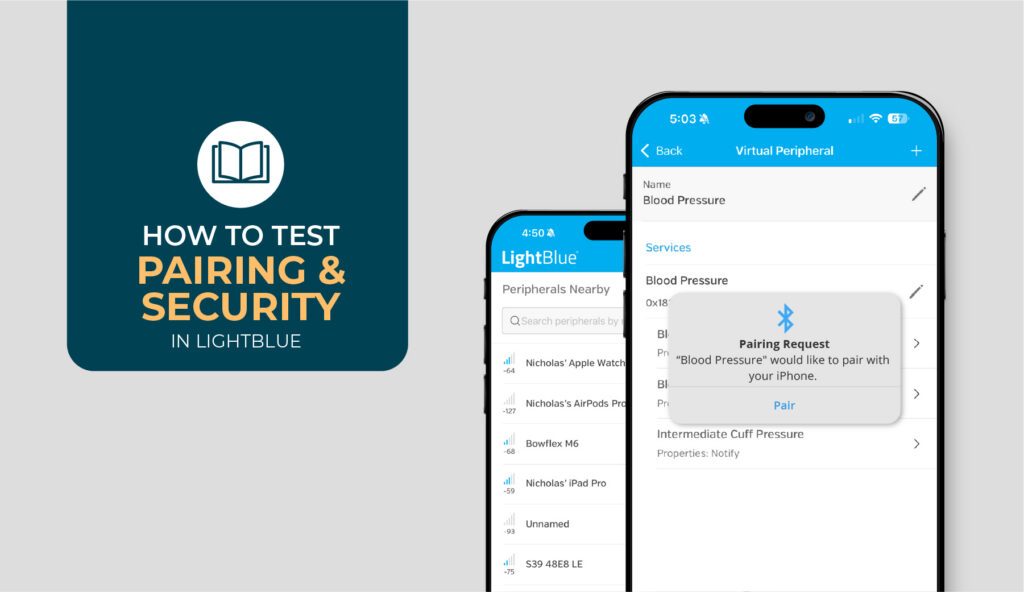
Security testing in BLE development has a way of getting pushed to the end of the dev/test cycle. There’s always something more immediately broken. Pairing gets wired up, it works in the room you’re developing in, and it ships. Then it fails in the field on a specific phone, at a specific point in the connection flow, or for a user you can’t reproduce the environment for.
LightBlue can’t replace a packet sniffer for deep link-layer inspection, but it can catch a lot of these problems before they get out the door. This article walks through six practical workflows for using LightBlue to validate BLE security and pairing implementations. It covers what to test, how to interpret what you see, and where LightBlue’s visibility runs out.
- Is your encryption requirement actually enforced?
- Testing bond persistence across reconnections
- Testing firmware recovery from interrupted pairing
- Surfacing cross-platform pairing differences
- Testing encryption requirements without hardware
- Making sense of unexpected test results
If you’re new to LightBlue, check out the How-To Guide for setup and features first.
What LightBlue Can and Can’t Tell You
LightBlue operates at the application layer. It sees what a central sees when it connects to your device, which is the right vantage point for testing pairing behavior. Whether pairing triggers correctly, whether bonds survive reconnection, how the device handles edge cases, where iOS and Android diverge, LightBlue captures all of it from the same position your users’ apps will be in.
One thing to know before you dig in: LightBlue does not display the negotiated security level of an established connection. You can confirm that pairing was triggered and completed, but not whether the resulting link is encrypted at the level your implementation specifies.
Note: LightBlue does not display the security level of a connection. You can observe pairing behavior, but the tool does not confirm the negotiated encryption level.
To confirm the actual negotiated security level at the link layer, a BLE sniffer is the right next step. We’ll flag where that boundary lands as it comes up in the workflows below.
Is Your Encryption Requirement Actually Enforced?
This is the most fundamental security test you can run in LightBlue, and it catches a failure mode that stays invisible until someone goes looking for it.
Connect to your peripheral and attempt to read a characteristic you’ve configured to require encryption. If your security implementation is working, LightBlue will present a system pairing dialog before granting access. If the read succeeds without triggering a pairing prompt, your encryption requirement isn’t being enforced. The characteristic is accessible without authentication, and the only way that surfaces in production is when someone probes for it.
Run this on both iOS and Android. The platforms present pairing prompts differently and handle encryption requirements in ways that can diverge. A requirement that iOS enforces correctly may be silently skipped on certain Android versions, or vice versa. Testing both in LightBlue is faster than finding out during cross-platform QA or certification.
This is also the workflow where the security level limitation matters. LightBlue confirms that pairing was required and triggered, but it won’t confirm that the resulting connection is encrypted at the security level you specified. If that confirmation matters for your implementation, for example if you need to verify LE Secure Connections rather than Legacy Pairing, a BLE sniffer is the right tool after this test.
Testing Bond Persistence Across Reconnections
Verifying that pairing triggers once isn’t the same as verifying that your bonding implementation works correctly. Those are two different tests.
Start by unpairing the device through your phone’s Bluetooth settings, then reconnect through LightBlue. Watch whether the peripheral re-prompts for pairing or silently skips it. Both behaviors can be correct depending on your implementation. The point is confirming which one is actually happening versus which one you intended.
The more important test is comparing a fresh device against an already-bonded one. A phone that already has the device in its bond table can mask bonding failures that new users will hit on their very first connection. If you only test with a phone you’ve paired before, you’re testing the reconnect path, not the initial pairing path. Clear your bond table and run the test again with LightBlue before assuming bonding works.
During reconnection, watch LightBlue’s connection log for sequence and timing. A clean rebond looks different from a silent downgrade in security behavior, and the log gives you a starting point when something feels off about the reconnect flow even when the UI shows a successful connection.
Testing Firmware Recovery from Mid-Pairing Disconnects and Pairing Rejection
This one tests something a little different from the others. It’s not verifying your pairing mechanism itself. It’s verifying that your firmware handles an interrupted pairing sequence without getting stuck.
Initiate a connection in LightBlue, then disconnect deliberately before pairing completes. The question isn’t whether pairing failed gracefully. The question is whether the device comes back to a clean, connectable, pairable state without needing a power cycle. Attempt to reconnect immediately after the disconnect and run the pairing flow again.
If the device reconnects and pairs cleanly, your firmware’s recovery path is working. If it gets stuck, meaning it shows up in the scan list but won’t accept a connection, or connects but doesn’t present the pairing prompt, something in your state machine isn’t resetting correctly after an interrupted session.
This matters more for compliance-sensitive products than it might seem. A stuck pairing state in the field is a real support event, and users don’t know to power-cycle their device, or cannot do so for an implanted device. Testing for it explicitly, in a controlled environment where you can reproduce it on demand, is the right time to find it.
Surfacing Cross-Platform Pairing Differences
The same pairing implementation can behave differently on iOS and Android, and the differences aren’t always obvious unless you go looking for them with a tool that runs on both platforms.
Run your pairing test sequence on iOS and Android against the same peripheral. iOS typically handles encryption-without-bonding correctly. Android can silently fail the same requirement without surfacing an error to the user or to your app. The connection proceeds, the characteristic read fails quietly, and the problem shows up as an unexplained data access failure rather than a pairing error.
The Android GATT Cache Problem
The Android GATT cache problem deserves specific attention here. Android caches GATT structure and security-level information from prior connections. When that cache is current, reconnections can appear to succeed at the correct security level even when they haven’t. The failure surfaces for new users who don’t have a cached state, which means you won’t see it if you only test with a phone that’s already been through the pairing flow.
To test the true first-connection path on Android, clear the GATT cache before each test run. There are two generally accepted, albeit undocumented ways to accomplish this, and we recommend doing both:
- Toggle Bluetooth off and back on.
- Reboot the Android device.
Before running your test, make sure to start with a fresh installation of your app to avoid any app-specific Bluetooth cache from affecting the test. Until you’ve run the test with a fully cleared cache, you haven’t tested what a new user experiences.
Testing both platforms with LightBlue before your app team integrates is the fastest way to surface this gap while it’s still cheap to fix.
Testing Encryption Requirements without Hardware
The workflows above assume you have a real peripheral to test against. When hardware isn’t available yet, Virtual Devices let you keep moving.
A Virtual Device in LightBlue is a software-simulated BLE peripheral running on your phone’s Bluetooth radio. It’s an actual advertising peripheral that other devices can discover and connect to—just like real hardware. This workflow tests your central’s behavior when it encounters an encryption requirement, not the peripheral’s pairing implementation. The Virtual Device stands in for the peripheral, and your app or central device is what’s being validated.

Here’s how to set it up.
- Open the Virtual Devices tab in LightBlue and create a new device
- Add a characteristic with the “Requires Encryption” permission set
- Start advertising
- Connect your central to the Virtual Device
- Attempt to read the protected characteristic
If your central’s pairing flow is implemented correctly, it will initiate pairing when it encounters the encryption requirement.
This is particularly useful for mobile developers who need to validate their app’s pairing logic before firmware exists or is finalized. You don’t need the peripheral side to be ready to start testing the central side.
One thing to watch for. Blank Virtual Peripherals, meaning devices created without any services configured, can produce false positive pairing triggers in some cases. This appears to be an isolated configuration issue rather than a feature limitation, but if you see pairing triggered unexpectedly on a blank Virtual Peripheral, rule that out before drawing conclusions about your central’s behavior.
Making Sense of Unexpected Test Results
LightBlue’s connection log captures connection-level events as they happen. Connects, disconnects, service discovery, reads, writes, and characteristic interactions all show up. During security and pairing testing, it’s most useful as a complement to the other workflows rather than a standalone diagnostic tool.

During a pairing sequence, the log captures connection-level timing and event sequence, not the link-layer pairing protocol events. You won’t see the key exchange or encryption negotiation. For that level of visibility, a BLE sniffer is the right tool. You will see the sequence and timing of application-layer events around the pairing attempt, which is often enough to understand what happened when a test produces unexpected behavior.
When a pairing test goes wrong and you’re not sure why, the log is a reasonable first place to look before reaching for heavier tooling. It’s especially useful in cases like these.
- Pairing prompted but the characteristic still returned an error
- The connection dropped at an unexpected point
- The reconnect behaved differently than the initial connection
The sequence of events often tells you whether the issue is in the pairing flow itself or in what your central or peripheral did after pairing completed.
Where to Go From Here
These six workflows cover the observable pairing behavior that matters most. Whether pairing is actually required, whether bonds persist correctly, whether the device recovers from edge cases cleanly, and where iOS and Android diverge. Running them before your production app integrates or before certification won’t catch every security issue, but it will catch the ones that are entirely preventable with a tool you already have.
When you need to go deeper, specifically to confirm the negotiated security level of a connection or diagnose a pairing failure at the link layer, a BLE sniffer is the right next step. Our guide on BLE sniffers and when you may need to upgrade walks through sniffer tool selection across three tiers, starting with LightBlue for basic visibility and moving up to Wireshark-based sniffers for pairing and advertising analysis.