Debugging a BLE central, whether it’s a mobile app, gateway, or other connected device, can feel like chasing shadows. Pairing flows break without warning. Notifications drop at random. Reconnects fail at the worst possible moment. Without the right tools, it’s hard to know whether the problem lives in your central, your peripheral, or somewhere in between.
LightBlue bridges that gap by giving you control over both sides of the connection. You can simulate peripherals with custom behavior, monitor real-time connection states, and trigger edge cases on demand, all without waiting on hardware or chasing down inconsistent device behavior.
In this article, we’ll walk through five of the most common central debugging scenarios that stall development and slip into production. For each scenario, you’ll see how to reproduce the issue in LightBlue, isolate the root cause, and validate that your fix actually works so you can stop guessing and start shipping with confidence.
Quick Start: Build a Virtual Peripheral in Under Two Minutes
Before diving into specific debugging workflows, let’s get a test environment set up. By creating a virtual peripheral in LightBlue, you’ll have a controlled, reliable way to see exactly how your central behaves, no waiting on hardware or unfinished firmware.
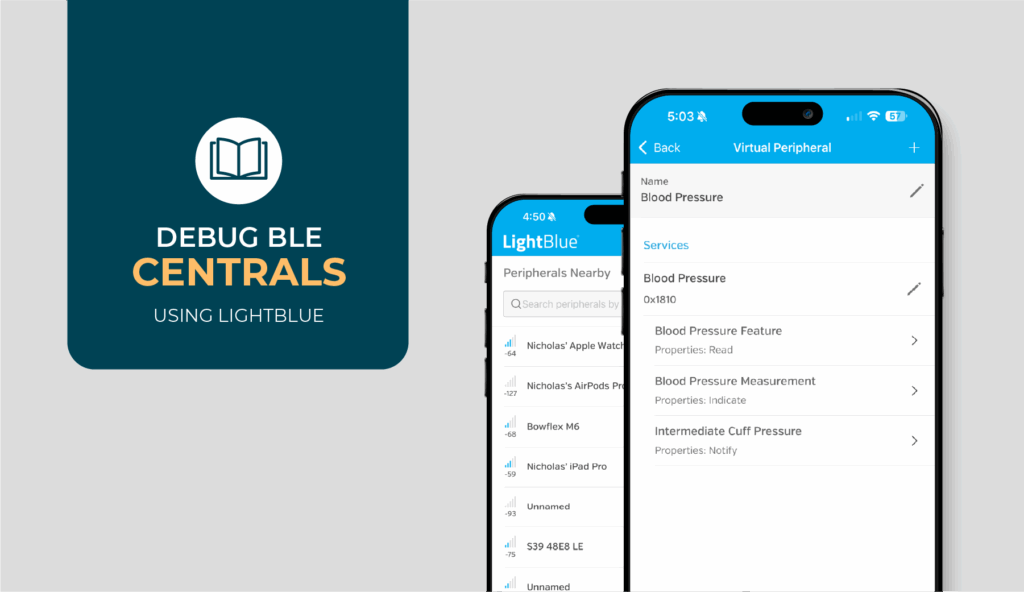
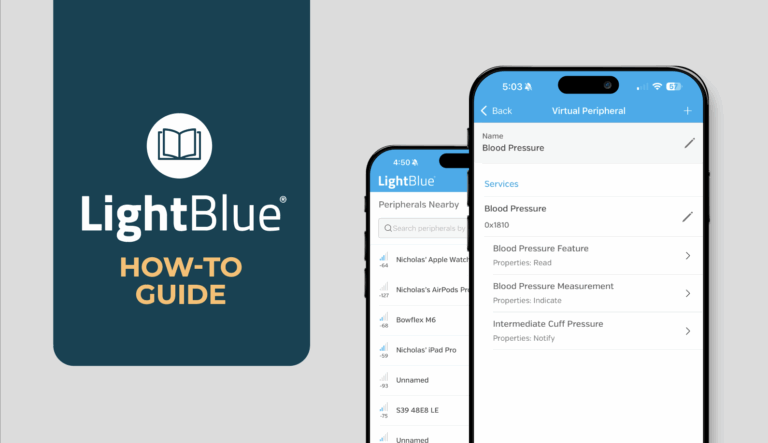
What’s a Virtual Device in LightBlue? A virtual device is a software-simulated BLE peripheral you can spin up directly inside the LightBlue app. Instead of waiting on real hardware or firmware, you create a test peripheral with the services and characteristics you need. This lets you debug your central device in a controlled environment and reproduce issues like pairing flows, notifications, and reconnections without hardware getting in the way.
1. Create a Controlled Test Peripheral
Download and open LightBlue and create a new virtual device.
- Add a basic service with two characteristics:
- Read/Write characteristic: For simple data exchanges.
- Notify characteristic: To test subscriptions and notifications.
- Optional: Set one characteristic to “Requires Encryption” if you want to test pairing flows right away.
Once you save the virtual peripheral, it will immediately be available for your central to discover and connect to, no separate advertising setup required.
This gives you a simple, known-good peripheral that you can customize later for more complex scenarios.
2. Connect Your Central Device
Now that your virtual peripheral is ready, connect to it just like you would with a real BLE device. This step verifies that your central can discover and establish a basic connection before you move on to deeper debugging.
From your central (mobile app, gateway, etc.):
- Scan for nearby devices: Your LightBlue virtual peripheral should appear in the scan results with the name you set in Step 1.
- Connect to the virtual peripheral: Select it to establish a connection, just as you would with physical hardware.
If the device doesn’t appear, double-check that your virtual peripheral is saved and active in LightBlue.
A successful connection here confirms that your central is able to recognize and link to the virtual environment, setting you up for the baseline testing in the next step.
For details on scanning, sorting, and connecting to peripherals in LightBlue, check out Peripherals Nearby in our How-To guide.
3. Run a Baseline Test
This step ensures that your central can perform the most fundamental BLE interactions before you dive into deeper debugging. Think of it as confirming the “plumbing” is solid before you start stress-testing.
- Verify discovery: Confirm your central detects the service and both characteristics you set up in Step 1. If something doesn’t show up here, the issue likely lies within your central’s discovery logic.
- Test a simple read/write: Read a value from the Read/Write characteristic, then write back to it. A successful round trip proves that basic data exchange is functioning.
- Check notifications: Subscribe to the Notify characteristic, then send a test notification from LightBlue. Your central should receive and handle it correctly.
If all three steps succeed, you now have a stable, controlled environment for reproducing bugs and validating fixes. If something fails, it’s a strong signal that your central itself needs attention before moving on to more complex scenarios.
Need a closer look at reading, writing, and subscribing to characteristics in LightBlue? Visit Device Inspection → Interacting with a Device in the How-To guide.
In the next section, we’ll use this virtual peripheral to recreate common central issues, pairing, notifications, reconnection, and more, and walk through practical workflows to debug each one.
Debugging Your Central: Common Issues and Fixes
Once you’ve confirmed that your central can connect and exchange basic data, it’s time to tackle the issues that derail real-world development. Central debugging is uniquely challenging because your app or gateway doesn’t operate in isolation. Its behavior depends entirely on how it interacts with peripherals, and when the real device isn’t ready or is inconsistent, reproducing problems becomes guesswork.
The workflows below show you how to use LightBlue to create controlled test scenarios, allowing you to reproduce failures, isolate the root cause, and confirm fixes with confidence. Each mini how-to is designed to stand alone, so you can scan for the specific problem you’re facing and get straight to debugging.
Central Doesn’t Detect Updated Services or Characteristics
You’ve just updated your peripheral’s firmware to add a new service or characteristic, but when your central connects, it still shows the old GATT layout or fails to see the update entirely. This is often caused by the central caching the previous service structure to speed up future connections. When the peripheral changes, that cached data can become stale, leaving your app out of sync.
This problem shows up most frequently on Android, which requires explicit steps to refresh the cache. iOS typically handles GATT updates automatically, making the issue less common but still possible.
Tip: If you’re also seeing dropped notifications or failed subscriptions alongside missing services, rule out caching issues first before investigating other causes.
Simulate a Firmware Update by Changing the GATT Table
Instead of flashing real hardware each time you test, you can quickly recreate this scenario:
- Open your virtual peripheral in LightBlue and add a new characteristic or service to its GATT table.
- Save the changes, then reconnect your central to the updated virtual peripheral.
- Observe whether your central shows the new layout or continues to display the old data.
This controlled setup isolates the problem so you know whether it’s caused by stale caching rather than your actual hardware or firmware.
If you need to brush up on browsing and verifying GATT tables, head to Device Inspection → Browsing the GATT Table in the LightBlue How-To guide.
Force Your Central to Refresh Its Cached Data
If your central behaves correctly, it will refresh its cache and display the updated services right away.
- If it fails to update, the cached data is the culprit.
- On Android, you’ll likely need to call refreshGatt() (or similar logic) right after service discovery and before initiating a reconnect to ensure the new data is pulled in correctly.
- On iOS, if you see this issue despite its usual automatic handling, try fully unpairing the device and reconnecting to force a clean discovery.
- Add logging around this process so you can confirm when the refresh occurs and verify that the updated structure is being applied.
Once your central refreshes successfully in this controlled environment, you can be confident that future issues are rooted in your app’s behavior, not the peripheral.
Pairing Prompts Don’t Appear or Bonds Fail on Reconnect
When your central tries to access a protected characteristic, you expect the system to trigger a pairing prompt, but nothing happens. Or, the initial pairing succeeds, but reconnecting later fails because the bond wasn’t remembered correctly.
These issues often point to problems in the pairing flow or how the central manages bond state. Testing this with real hardware can be slow and inconsistent, so using LightBlue to simulate pairing requirements gives you a faster, more controlled way to isolate the problem.
Simulate a Pairing Flow by Requiring Encryption
You can force a pairing attempt by marking a characteristic as requiring encryption:
- Open your virtual peripheral in LightBlue.
- Edit one of its characteristics and set it to “Requires Encryption.”
- Save your changes, then reconnect your central and try to read or write to that characteristic.
- Observe what happens:
- Does a pairing prompt appear right away?
- Does the operation fail silently, with no prompt?
This will confirm whether the central is even attempting to initiate a secure connection when required.
Confirm Your Central Handles Bonding Correctly
A reliable central should:
- Trigger a pairing prompt when required.
- Retry the failed operation automatically once bonding is complete.
- Remember the bond and reconnect successfully later.
If any of these steps fail, dig into how your central handles bonding events:
- If pairing prompts never appear, check whether your app has permissions or configurations blocking the system-level pairing request.
- If the retry never happens, verify that your logic listens for bond completion and re-issues the operation automatically.
- If reconnecting fails, confirm that bond data isn’t being cleared or corrupted between sessions.
Once all three steps work in this controlled test, you can trust that pairing and bonding behavior in your central is functioning as expected. Any remaining connection issues likely stem from other parts of the stack.
Central Misses or Mishandles Notifications
Your central subscribes to notifications, but some updates never arrive or they show up out of order. This usually happens when the app isn’t handling subscription logic correctly or can’t keep up with a rapid stream of updates.
Because notification issues are often timing-related, they can be difficult to reproduce with real hardware. LightBlue lets you generate bursts of notifications on demand, making it easier to pinpoint whether the problem lies in the central’s code or elsewhere in the stack.
Send Rapid Notifications to Stress-Test Your Central
- Open your virtual peripheral in LightBlue and configure a Notify characteristic.
- Connect your central and confirm it subscribes to the characteristic.
- Use LightBlue to send multiple notifications in quick succession.
- Watch how your central responds:
- Does it successfully receive every notification?
- Are notifications processed in the correct order?
- Does the app unsubscribe unexpectedly under load?
If notifications are missed or jumbled in this controlled environment, the issue likely lies in the central’s handling rather than in the peripheral or hardware.
Validate Subscription and Ordering Logic
For reliable behavior, your central must:
- Subscribe before expecting data. Ensure it writes to the Client Characteristic Configuration Descriptor (CCCD) before the first notification is sent.
- Handle notification bursts gracefully. If updates come in faster than they’re processed, queue them properly rather than dropping packets or scrambling their order.
- Stay connected under load. If your central disconnects or unsubscribes, check for race conditions or background mode limitations.
Troubleshooting tips:
- If you’re working on Android, be aware that it queues notifications differently than iOS, so ordering and throughput problems are often more visible.
- On iOS, background mode can throttle notifications, which may mimic dropped updates even if the core logic is sound.
Once your central reliably subscribes and processes notifications correctly in this controlled test, you can be confident that real-world issues stem from factors like hardware behavior or environmental interference, not your app’s core logic.
Want to understand how LightBlue handles notifications and subscriptions? See Device Inspection → Subscribing to Characteristics in the How-To guide.
Central Fails to Send or Handle Write Operations Correctly
Your central is trying to send data to a peripheral, but writes fail, larger values get truncated, or the wrong write type is used. These problems can cause data transfer errors or incomplete communication between devices.
Because write issues often involve both packet size and response handling, they can be tricky to diagnose with real hardware alone. LightBlue gives you a way to test different write scenarios in a controlled setup and pinpoint whether the problem lies in the central’s implementation.
Test Different Write Types and Data Sizes
To identify whether the problem comes from write type or data size, you can simulate different write operations in LightBlue and observe how your central reacts.
Here’s how to set up a controlled test:
- Open your virtual peripheral in LightBlue and set up a characteristic that supports writing.
- From your central, attempt a write using “Write With Response.”
- Verify whether the operation succeeds and that the peripheral acknowledges receipt.
- Switch the same characteristic to “Write Without Response.”
- Try the write again and confirm how your central handles it.
- Gradually increase the data size being written to test for issues related to packet length.
- If larger values fail or are truncated, you may be hitting MTU (Maximum Transmission Unit) limits.
This process helps you determine whether the failure stems from the write type, data size, or your central’s handling of write acknowledgments.
Need a quick reference on performing writes in LightBlue? Check Device Inspection → Writing to Characteristics in the How-To guide for supported formats and behaviors.
Verify Your Central’s Write Behavior
Your central’s goal is to send data reliably and adapt to the constraints of the connection. It needs to select the correct write type for each scenario, manage payload sizes, and recover smoothly when problems occur.
Here are the key things to focus on as you analyze the results of your test:
- Write type selection: Use Write Without Response for speed when reliability isn’t critical. Use Write With Response for important data where confirmation is essential.
- MTU handling: If your central needs to send larger values, it must negotiate a higher MTU size or split the data to fit within the current limit.
- Error recovery: When a write fails, your app should detect the failure and retry rather than silently dropping data.
Platform nuance:
- iOS often defaults to Write Without Response and may choose for you based on characteristic properties.
- Android exposes both options explicitly, giving you more control but requiring careful handling.
When your central reliably selects the correct write type, handles MTU negotiation properly, and recovers gracefully from errors, you can be confident that any remaining write issues are caused by the peripheral or external factors, not your app’s core logic.
Data Gets Truncated or Transfer Rate is Too Slow
When your central tries to send or receive larger values, you may notice that data gets cut off, transfers stall, or overall throughput is much lower than expected. This usually points to issues with MTU negotiation or how your app handles data chunking during transmission.
Because MTU limits vary across devices and operating systems, these problems can be hard to reproduce consistently with real hardware. Using LightBlue lets you create repeatable tests so you can see exactly how your central responds to different packet sizes.
Simulate Larger Data Transfers with LightBlue
To test how your central handles MTU negotiation and high-throughput scenarios:
- In LightBlue, create a virtual peripheral with a read/write characteristic.
- From your central, attempt to read or write data longer than 20 bytes, which is the default BLE packet size.
- Observe how your central reacts:
- Does it automatically negotiate a higher MTU?
- Does it truncate the data without warning?
- Does the transfer fail entirely?
You can also incrementally increase the data size to stress-test how your central performs as payloads grow.
Make Sure Your Central Handles MTU and Throughput Correctly
For reliable communication, your central needs to do three things well:
- Negotiate the MTU properly.
- On Android, this must be explicitly requested in your code.
- iOS handles negotiation automatically behind the scenes, but issues can still occur if the peripheral doesn’t respond correctly.
- Handle larger packets by splitting data when necessary. If the negotiated MTU isn’t large enough, your central should break the payload into smaller chunks to prevent truncation.
- Adapt to real-world throughput limits. Even with a high MTU, connection intervals, environmental interference, or OS throttling can limit speed. Your app should be prepared to queue data and retry when necessary.
When you confirm these behaviors in a controlled LightBlue test, you’ll know whether the bottleneck is in your central or somewhere else in the BLE chain, like the peripheral or the physical connection.
Central Doesn’t Reconnect After a Peripheral Disconnects
You’ve got your central and peripheral connected, everything’s working fine until the peripheral disconnects. Maybe it goes out of range, powers down, or the connection drops unexpectedly. When it comes back online, your central doesn’t reconnect automatically, or it fails silently without alerting the user.
This kind of failure is especially frustrating because it breaks the user experience and often points to gaps in how the central tracks connection state and triggers recovery logic. Real hardware makes it tough to reproduce reliably, but LightBlue gives you a simple, controlled way to test how your central responds when a peripheral drops and comes back.
Simulate Peripheral Disconnects and Reconnections
To recreate this issue in a repeatable way:
- Connect your central to a virtual peripheral in LightBlue.
- Manually disconnect the virtual peripheral to simulate a sudden drop.
- After a short pause, make the virtual peripheral available again by re-opening it in LightBlue.
- Watch how your central reacts:
- Does it detect the disconnect event immediately?
- Does it attempt to reconnect automatically once the peripheral reappears?
- Does it stay stuck in a bad state, requiring a manual restart or intervention?
This test gives you a clear view of whether your central’s recovery logic is firing correctly or failing to respond at all.
Ensure Reliable Reconnection Logic
When your central detects a disconnect, it needs to move through a predictable flow:
- Recognize the disconnect state: Log the event and gracefully update the app’s UI or state machine.
- Attempt reconnection automatically: Initiate a retry as soon as the peripheral begins advertising again.
- Handle failures cleanly: If multiple reconnect attempts fail, surface a clear error instead of leaving the app hanging.
- Recover user experience: When the reconnect succeeds, restore subscriptions, state, and data flows without requiring the user to take extra steps.
Bringing It All Together: Debugging Checklist
Before you move on, run through this quick checklist to confirm that your central is ready for production-level testing. If you can check off every item, you’ve covered the most common failure points:
- Central correctly discovers updated services and characteristics.
- Handles pairing prompts reliably and remembers bonds on reconnect.
- Subscribes to notifications before expecting updates.
- Processes multiple notifications without drops or out-of-order delivery.
- Uses the correct write type (with or without response) for each characteristic.
- Negotiates MTU correctly and handles larger payloads gracefully.
- Recovers smoothly after a peripheral disconnect.
If deeper issues still show up after these are confirmed, that’s when you’ll need to step out of LightBlue and use more advanced tools like protocol analyzers or timing tests with real hardware.
Debugging Centrals with Confidence
Most of the issues you’ll encounter while debugging a central can be diagnosed and resolved using the workflows in this guide. But some problems run deeper: timing-sensitive bugs, protocol-level edge cases, or hardware-specific quirks that require tools like protocol analyzers or low-level logging. LightBlue gets you 80–90% of the way there, so when you do need those advanced tools, you’ll know exactly where to focus.
For teams ready to go beyond debugging and build robust, production-ready systems, our team at Punch Through specializes in tackling these complex challenges. We work with companies at every stage, from first prototypes to scaling regulated medical devices, to design, build, and refine connected products that work reliably in the real world.
If you’re ready to keep improving your central, explore some of our related resources:
- BLE security essentials to make sure your connections are safe and compliant.
- Platform-specific guides for iOS and Android central development.
- Advanced LightBlue use cases for power users who want to push their testing further.
Debugging centrals will never be simple, but with the right tools and a solid process, it doesn’t have to slow you down. With LightBlue and a disciplined approach, you can ship faster, catch issues earlier, and build products you trust and that your users can trust too.


