The LightBlue is a free BLE testing and development tool designed for prototyping, debugging, and validating Bluetooth Low Energy devices. One of its features, LightBlue Cloud Connect, allows you to stream BLE data directly to cloud platforms—no custom apps, SDKs, or server setup required.
This guide shows you how to use LightBlue Cloud Connect with Adafruit IO, a cloud service for collecting, visualizing, and reacting to real-time device data. In just a few steps, you’ll have BLE data flowing from your device into the cloud for monitoring or prototyping.
What You’ll Need
- An iOS device with the latest version of LightBlue
- A BLE device that supports notifications or indications
- An Adafruit IO account (Sign up here)
- Your Adafruit IO username and AIO Key
Note: An Adafruit IO account is free to sign up and use, but Adafruit also offers a premium tier that supports an unlimited amount of feeds. The free account is more than sufficient for the purposes of this tutorial. Punch Through is not responsible for any usage charges incurred as a direct or indirect result of following this guide or using the LightBlue Cloud Connect feature in general.
Setting Up Cloud Connect in LightBlue
1. Connect to Your BLE Device
Open the LightBlue app, find your BLE device in the Peripherals tab, and connect. Navigate to the Characteristic you want to monitor—it should support notifications or indications.
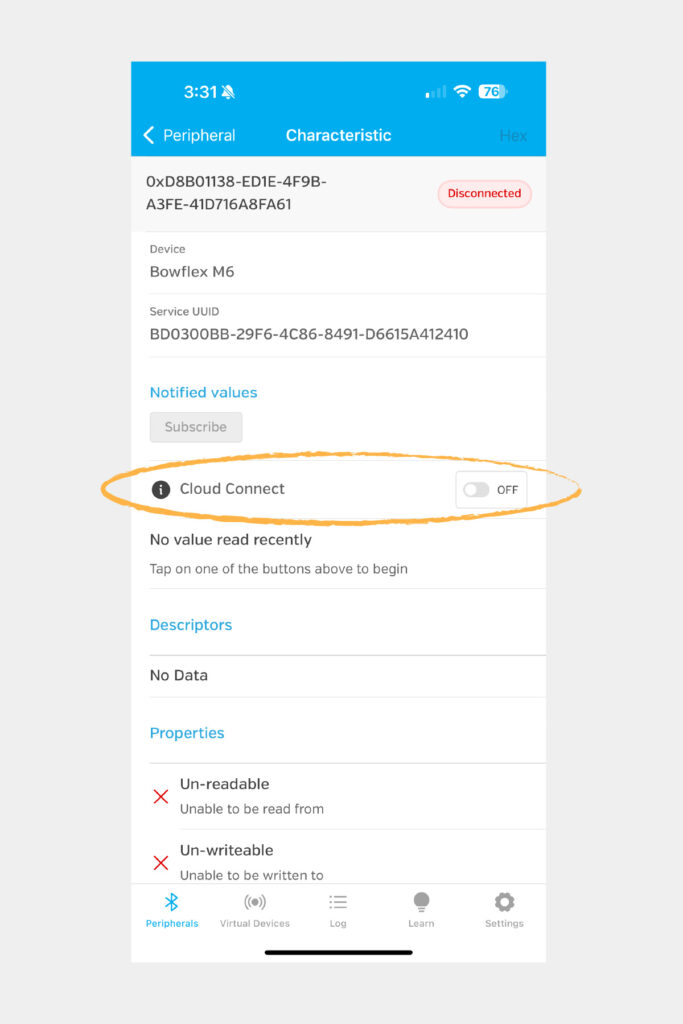
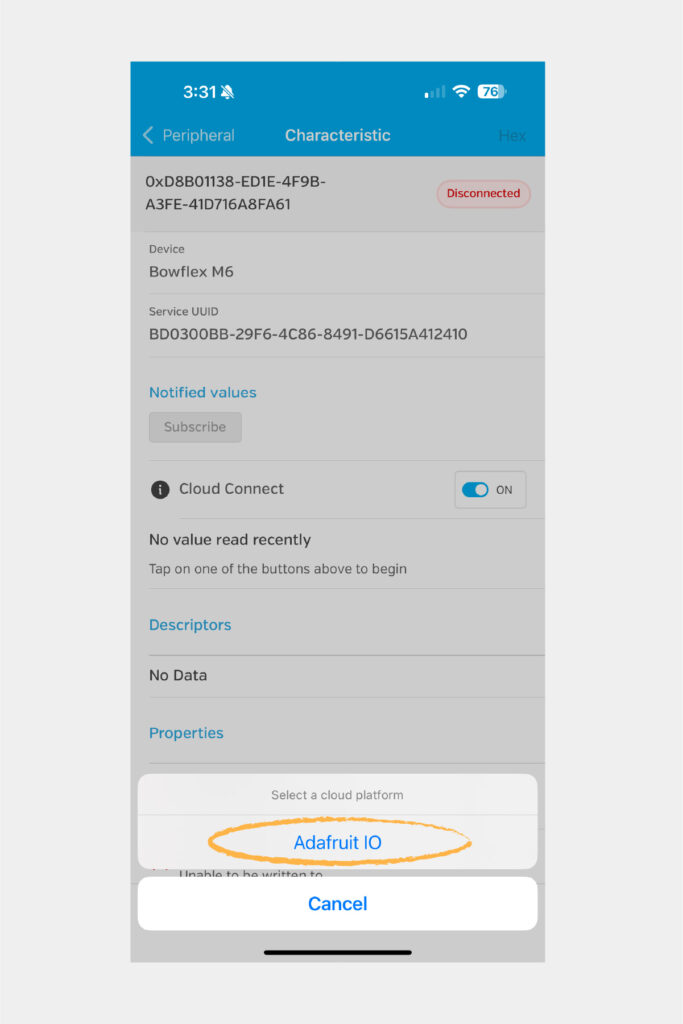
2. Enable Cloud Connect + Select Adafruit IO
Toggle Cloud Connect to ON. A modal will pop up asking where to send your data—choose Adafruit IO.
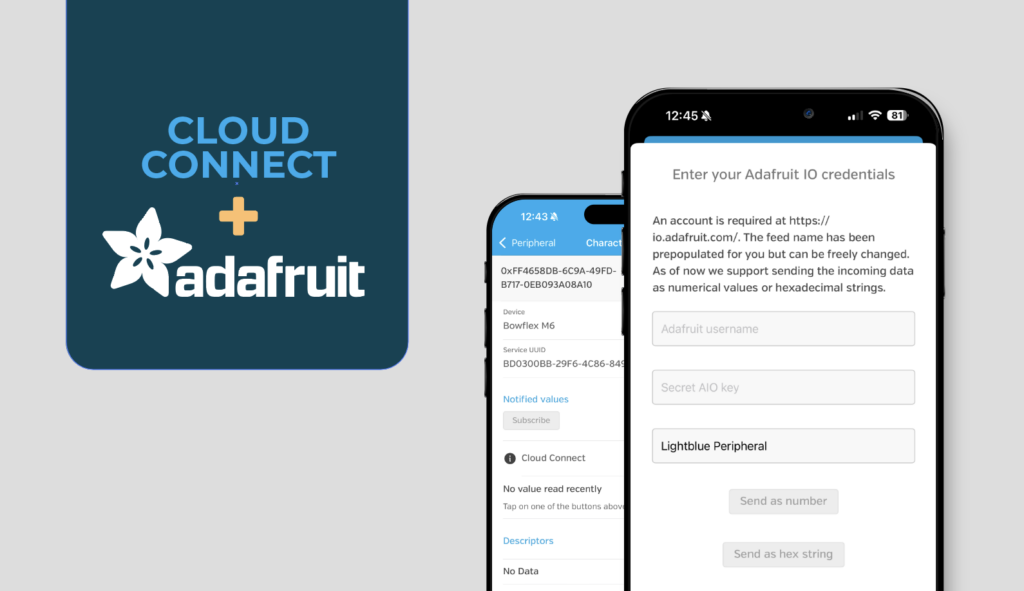
3. Enter Your Adafruit IO Credentials
Populate the text fields in the alert dialog that appears with your Adafruit IO username and secret AIO key for the first two fields. If you have the QR code for the secret key handy on another device, you can opt to scan the QR code. Note that if you have previously filled in these fields before, they’ll be pre-populated for your convenience, but can be changed easily.
You’ll be prompted to enter your:
- Adafruit IO Username
- Secret AIO Key
- Feed name (optional; we pre-fill one based on your device, but you can change it)
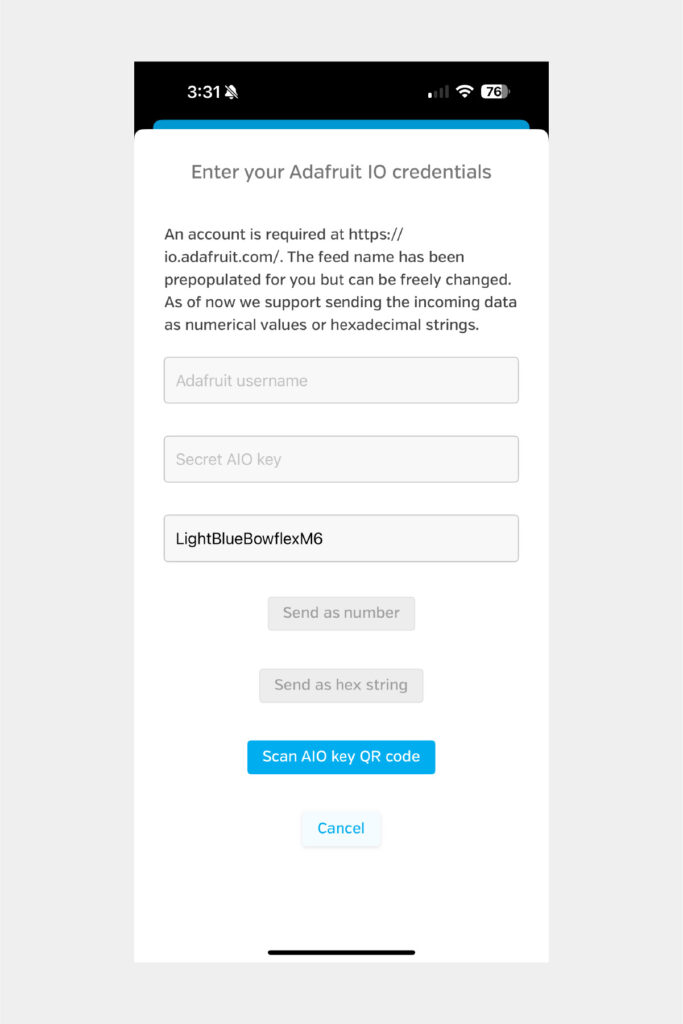
The third field corresponds to the name of the Adafruit IO feed that will appear on your Adafruit IO dashboard. By default, LightBlue suggests a name based on the BLE device name, but feel free to change it to anything you like! If you’re going to be listening to notifications or indications from multiple characteristics of this device, it is highly recommended that you provide a feed name that would distinguish data from this characteristic from the rest.
4. Choose Your Data Format
You have the option of sending the indicated data as a numerical value or as a hex string. We highly recommend sending data as a number if you’re certain that the data coming from the BLE device are numbers, as that’ll allow you to visualize the value changes over time in the form of a beautiful line graph. If you’re unsure of the form of data that you’ll receive, choose to send the data as a hex string.
Choose how LightBlue should format the data before sending:
- Send as number: Great for sensor values like temperature, heart rate, etc.
- Send as hex string: Best if you’re not sure what format your data is in yet.
You can switch between formats easily if you’re just exploring.
5. Subscribe to Start Streaming
Back on the characteristic screen, tap Subscribe. LightBlue will begin receiving BLE notifications and instantly send that data to your configured feed on Adafruit IO.
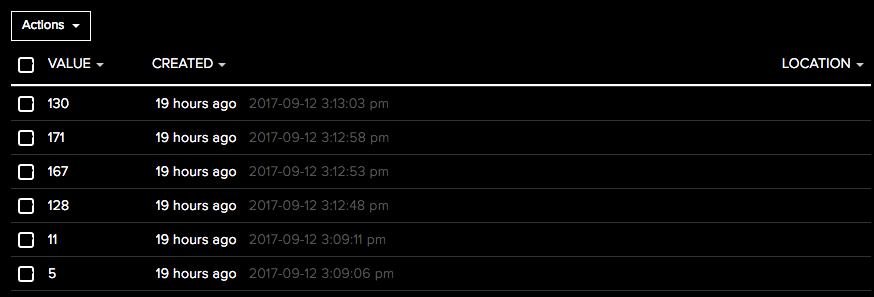
Confirm Data Is Flowing
Now that the data received via BLE indication is set up to be sent to Adafruit IO, you can see the data arriving in real time by visiting the Feeds page on your Adafruit IO account. The actual URL should look something like https://io.adafruit.com/your-username/feeds.
Log into your Adafruit IO dashboard and go to Feeds → select the one you used.
You’ll see a stream of time-stamped values coming from your BLE device.
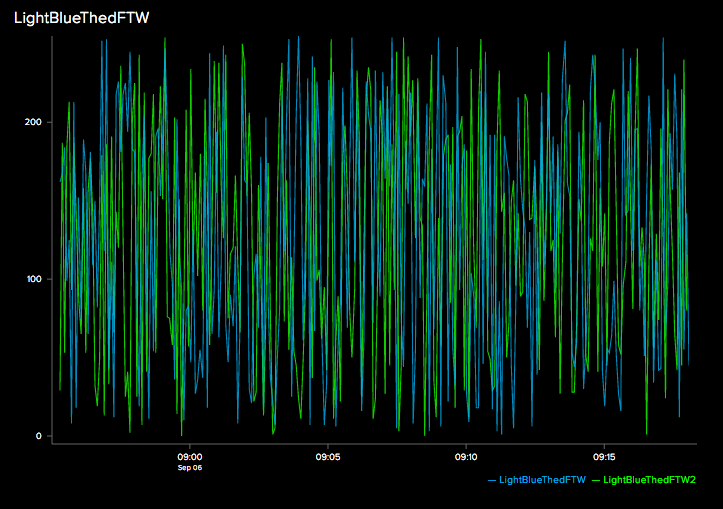
Visualize with Dashboards
LightBlue supports listening to indications and notifications from multiple characteristics of the same BLE device, and you can take advantage of that by enabling the Cloud Connect feature on multiple characteristics! We recommend using different feed names for different characteristics so that you can easily distinguish them as coming from separate data sources.
Adafruit IO lets you turn raw feeds into visual blocks—charts, gauges, maps, buttons, and more. This dashboard can be accessed from https://io.adafruit.com/your-username/dashboards.
To build a dashboard:
- Go to Dashboards and click Create a New Dashboard
- Click the blue “+” button to add a block
- Choose a block type (line chart, gauge, etc.)
- Point it to your feed and customize the display
You can create a new dashboard and add “blocks” to it. You can freely resize each block and move them around the dashboard interface.
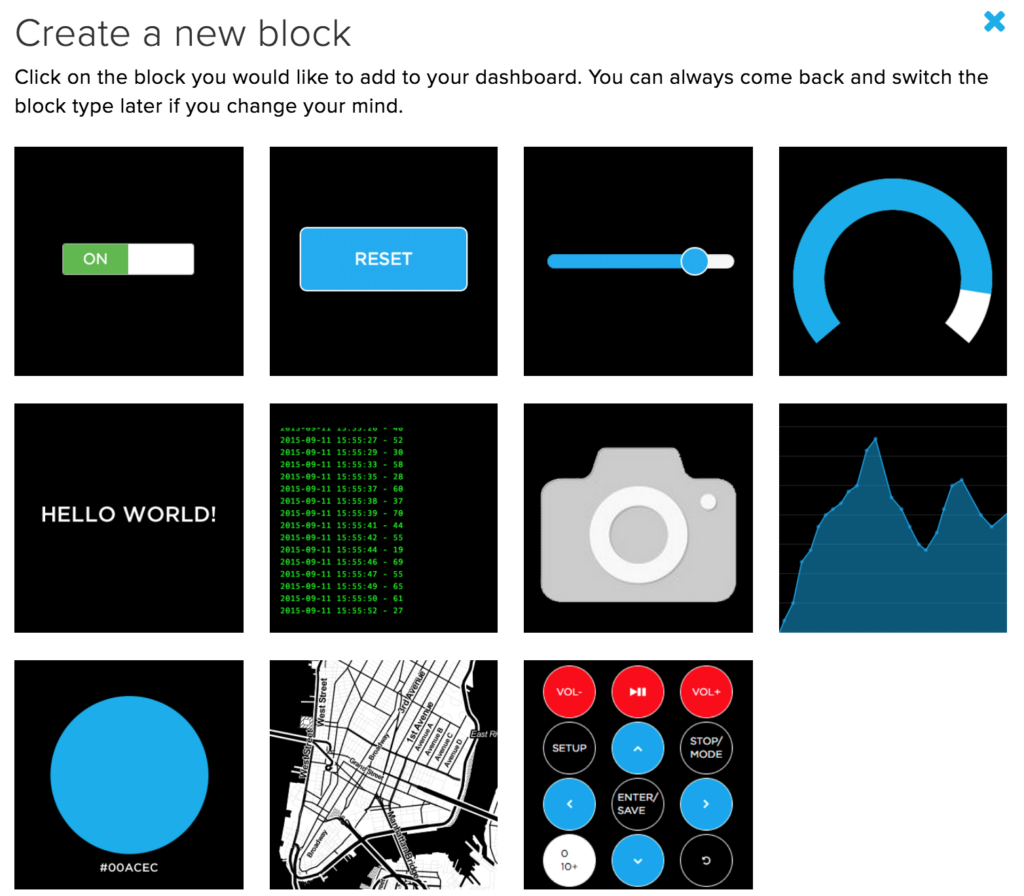
Each block is a way to visualize any existing data from your feeds, and we encourage you to experiment with them to find the one that suits your needs. For instance, a line graph is perfect for visualizing numerical values while a stream provides a console-like log output of data arriving in real time, complete with timestamps on each entry.
What’s Happening Under the Hood
For those curious, LightBlue Cloud Connect listens for notification events from your BLE peripheral, packages the payload (as either a number or hex), and posts it to Adafruit IO using your credentials and feed name. That’s it—no app development, no SDK, no API juggling.
This is especially helpful when you’re:
- Testing a new sensor
- Validating BLE behavior before writing firmware
- Prototyping connected workflows with real-world BLE data
Wrap Up
LightBlue Cloud Connect makes it fast and easy to stream BLE data into Adafruit IO without needing to write or deploy any custom software. Whether you’re building a prototype, testing device behavior, or demonstrating a proof of concept, this integration gives you real-time visibility into BLE data with minimal setup.
Want to stream to AWS IoT instead? Check out our AWS Cloud Connect guide.