If you’ve spent any time developing BLE peripherals, you know the frustration: bugs that only appear intermittently, issues that vanish when you try to reproduce them, and failures that seem to depend on which phone, tablet, or laptop you’re testing with. Hardware-dependent bugs are some of the hardest to track down, and when your peripheral only misbehaves with certain centrals or under specific conditions, debugging becomes a time sink.
LightBlue offers a way to isolate these variables. As a purpose-built BLE central tool with extensive logging, characteristic-level control, and battle-tested reliability, LightBlue lets you test your peripheral against a known-good central. If your peripheral works correctly with LightBlue but fails with your production app, you’ve successfully ruled out your peripheral and identified where the real problem lies.
In this article, we’ll walk through how to use LightBlue to systematically test your peripheral, then explore common debugging scenarios and what they reveal about your firmware.
Note: This guide assumes you’re already familiar with LightBlue’s basic functionality. If you’re new to LightBlue or need detailed instructions on how to use specific features, check out our complete LightBlue guide first, then return here for peripheral-specific debugging workflows.
Quick Start: Using LightBlue as Your Debugging Central
Before diving into deeper debugging scenarios, it helps to first get a clean baseline connection with LightBlue. Getting LightBlue up and running takes just a minute, giving you a reliable baseline to start ruling things out quickly.
Setup Steps
- Download and install LightBlue for your platform (macOS or iOS).
- Open LightBlue and scan for your peripheral:
- Ensure your peripheral is advertising
- LightBlue will display all advertising peripherals it discovers
- Identify your device by name, MAC address, or advertising data
- Connect to your peripheral:
- Tap or click your peripheral in the scan results
- LightBlue will establish a connection and automatically perform service discovery
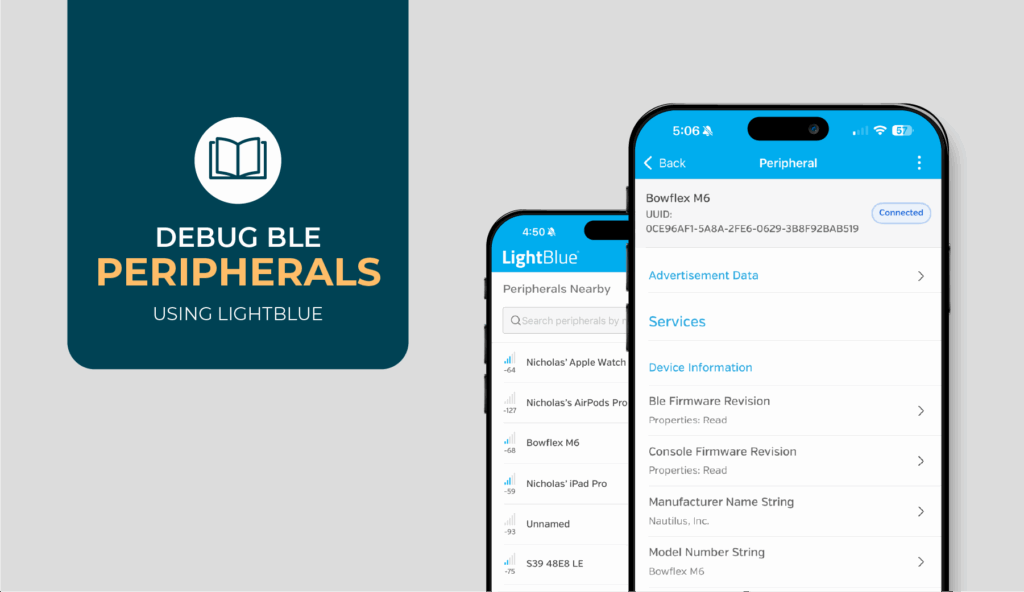
- You’ll see your complete GATT table with all services and characteristics
From here, you can interact with your peripheral at the characteristic level: read values, write data, subscribe to notifications, and monitor connection parameters. Every operation is logged, giving you the visibility you need to understand exactly what’s happening.
New to scanning, connecting, and exploring your GATT table in LightBlue? Jump to the Peripherals Nearby and Device Inspection sections of our LightBlue How-To guide for a complete walkthrough.
Debugging Scenarios
The following scenarios represent the most common peripheral bugs you’ll encounter in BLE development. For each one, we’ll show how you can use LightBlue to isolate the issue, confirm your peripheral is working correctly, and rule out (or identify) your peripheral as the source of the problem.
The key principle: if your peripheral behaves correctly with LightBlue under controlled conditions, but fails with your production app or other centrals, you’ve successfully isolated the problem to the central side, whether that’s the mobile app code, the OS BLE stack, or platform-specific behavior.
When Your Peripheral Won’t Connect or Drops the Connection
Connection issues are among the most frustrating peripheral bugs because they’re often intermittent and sensitive to environmental factors. Your peripheral might connect fine to your iPhone but fail with certain Android phones, or it might connect successfully but disconnect after a few seconds for no apparent reason.
Start by repeatedly connecting to your peripheral with LightBlue. The goal is to eliminate variables: you want to know if your peripheral can establish and maintain a stable connection with a well-implemented central.
Test these connection scenarios:
- Multiple connection/disconnection cycles—does your peripheral handle them reliably?
- Maintaining connection over extended periods (leave it connected for several minutes)
- Connection stability during active data transfer
What you’re looking for is consistency. Your peripheral should accept connection requests from LightBlue reliably and maintain those connections. If your peripheral is stable with LightBlue but fails with your production app or certain devices, you’ve successfully isolated the problem to the central side.
Pay particular attention to what happens in the first few seconds after connection. Many “mysterious” disconnects actually stem from connection parameter negotiation failures. Your peripheral and the central need to agree on connection interval, peripheral latency, and supervision timeout.
If your peripheral disconnects consistently within the first 2-3 seconds with your app but stays connected with LightBlue, the parameter exchange in your app is likely failing. LightBlue handles this negotiation correctly, which helps you rule out whether the problem is fundamental to your peripheral or specific to how your app handles connection parameters.
Verifying Your GATT Table Is Actually What You Think It Is
You’ve defined your services and characteristics in firmware, but does the central actually see what you intended? GATT table issues often manifest as services not appearing, characteristics being missing, or discovery failing entirely. These problems are especially common after firmware updates when you’ve changed UUIDs or restructured your GATT table.
Connect to your peripheral with LightBlue and examine what it discovers. LightBlue will show you exactly what services, characteristics, and descriptors it finds. Compare this against your firmware’s GATT definition:
- Are all your services present?
- Do the UUIDs match?
- Are the characteristic properties (read, write, notify) correct?
- Are descriptors (like the Client Characteristic Configuration Descriptor for notifications) present where expected?
Need a refresher on exploring services and characteristics? See Device Inspection → Browsing the GATT Table in our LightBlue How-To guide for a visual walkthrough.
The Stale Cache Problem
One particularly insidious issue is stale cached data. When a central has previously connected to your peripheral, it may cache GATT information to speed up future connections. If you’ve updated your firmware and changed the GATT table, this cached data becomes incorrect. The central might try to access characteristics that no longer exist or skip discovery entirely because it thinks it already knows your GATT structure.
If LightBlue discovers your complete, accurate GATT table reliably, your peripheral’s GATT implementation is working correctly. If your production app is having discovery problems, you’re likely dealing with caching issues in your app (are you forcing re-discovery after firmware updates?) or platform-specific discovery behavior.
Note: LightBlue performs service discovery correctly according to the BLE specification. If it sees your GATT table correctly but your app doesn’t, your app’s discovery implementation likely has bugs or isn’t handling the discovery process properly.
Testing Whether Notifications Actually Fire
Notifications are supposed to be straightforward: your peripheral sends data, the central receives it. In practice, notification failures are common and maddeningly hard to debug. Did your peripheral not send the notification? Did it send but the central didn’t receive it? Is the central receiving it but the app layer isn’t handling it correctly?
Connect with LightBlue and subscribe to notifications on the characteristics you’re testing. Then trigger the events on your peripheral that should generate notifications. LightBlue will log every notification it receives, including the exact data payload and timestamp.
Want to see exactly how to enable and monitor notifications in LightBlue? Check Device Inspection → Subscribing to Characteristics in our LightBlue How-To guide.
If LightBlue receives all your notifications with correct data, your peripheral’s notification logic is working. If your production app isn’t receiving them and you’ve ruled out your peripheral, the problem is on the app side.
Confirm notifications are working:
- Are notifications arriving when you expect them?
- Is the data payload correct?
- Are multiple notifications being received in the correct order?
- Do rapid-fire notifications all arrive, or are some dropped?
This is particularly valuable when you’re dealing with reports like “notifications sometimes don’t arrive” from your mobile team. Intermittent notification failures in your app could be caused by OS-level throttling, backgrounded app states, or incorrect callback handling in the mobile app code. But if LightBlue receives every notification consistently, you know the issue isn’t with your peripheral’s firmware.
Confirming Write Operations Actually Do What You Expect
Write failures manifest in various ways: the write request times out, your peripheral rejects it with an error, or worse, the write appears to succeed but your peripheral’s state doesn’t update correctly. These bugs can hide in production for months until someone sends an edge-case payload that breaks everything.
Use your LightBlue to send controlled write operations with known data payloads. This is where LightBlue’s precision matters: you know exactly what bytes you’re sending and can verify what your peripheral receives.
Not sure how to structure your writes or interpret responses? See Device Inspection → Writing to Characteristics in our LightBlue How-To guide for supported formats and confirmation details.
Test these write scenarios:
- Maximum-length writes based on the negotiated MTU
- Write-with-response commands (verify your peripheral sends acknowledgments)
- Write-without-response commands (confirm correct handling without ACKs)
- Malformed data, empty writes, and writes that exceed MTU limits
Don’t just test the happy path. How does your peripheral’s error handling hold up? LightBlue’s logs will show you exactly what your peripheral is receiving, which is invaluable when debugging issues like endianness problems (did you expect a uint16 but your peripheral is interpreting the bytes in the wrong order?) or string encoding issues (UTF-8 vs ASCII vs who-knows-what).
Note: If write operations work correctly with LightBlue but fail with real devices, you’ve narrowed the problem considerably. Maybe the mobile app is serializing data incorrectly, or different platform BLE stacks have different write operation behavior.
Making Sure MTU Negotiation Isn’t Silently Breaking Your Data Transfer
MTU (Maximum Transmission Unit) determines the largest packet size your peripheral and central can exchange. The default is typically 23 bytes, but both sides can negotiate a larger MTU to enable bigger payloads. MTU negotiation issues are sneaky because they often don’t cause immediate failures. Instead, your data gets truncated or your multi-packet transfers fail mysteriously.
Connect with LightBlue and check what MTU gets negotiated. LightBlue will show you the negotiated MTU value. Then test data transfer at various payload sizes:
- Small payloads well under the MTU limit
- Payloads approaching the MTU limit
- Payloads that would require multiple packets
Does your peripheral handle all these scenarios correctly? When you attempt to transfer data at or near the MTU limit, does everything work as expected or do you see truncation and failures?
This is especially important when you’re developing for multiple platforms. iOS typically negotiates a 185-byte MTU, while many Android devices negotiate 512 bytes or higher. An app that works fine on iOS might fail on Android if your peripheral doesn’t handle larger MTUs correctly or vice versa.
If data transfer works with LightBlue but fails with your production app at certain payload sizes, your app might not be respecting the negotiated MTU or might not be handling MTU negotiation correctly. LightBlue handles MTU negotiation according to spec, so if it works but your app doesn’t, that’s a strong signal the bug is in your app’s MTU handling.
Validating Pairing and Bonding Behavior
Pairing and bonding failures create cascading problems throughout your entire BLE implementation. Authentication issues, encryption failures, and bonding inconsistencies are all harder to debug when you’re trying to track them down in a fully integrated system with a real mobile app. Catching these problems early, at the peripheral level, saves enormous amounts of time.
Testing Pairing and Encrypted Connections
If your peripheral requires pairing or encryption, connect with LightBlue and go through the pairing process. LightBlue will handle the pairing flow and show you what security level gets established. Does your peripheral complete the pairing process successfully? Does the encrypted connection work correctly after pairing?
Testing Reconnection After Bonding
Just as important: test the reconnection flow. After successfully bonding with LightBlue, disconnect and reconnect. Does your peripheral recognize the bonded device and restore the encrypted connection using stored bonding information? Or does it require the entire pairing process again?
If you’re having pairing issues with your production app, test the same flow with LightBlue. If LightBlue can pair and bond successfully but your app can’t, your app’s pairing implementation has bugs. If LightBlue also has trouble pairing, the issue is in your peripheral’s security implementation.
Tip: Debug pairing failures now, not later. Once you’re dealing with a full application stack (peripheral firmware, mobile app, backend services), tracking down why pairing intermittently fails becomes exponentially harder. LightBlue lets you verify your peripheral’s pairing implementation works correctly with a standards-compliant central. If pairing works with LightBlue but fails with your app, you’ve isolated the problem to your app’s security implementation.
Peripheral Debugging Checklist
Before concluding that your peripheral is working correctly, test each of these areas with LightBlue:
- Advertising and connection: Stable under different scanning and connection conditions
- GATT table: Correctly discovered with all services and characteristics
- Notifications: Firing consistently with correct data and timing
- Write operations: Handled reliably, including edge cases
- MTU negotiation: Confirmed working with various MTU sizes
- Pairing/bonding: Working smoothly for both initial and repeat connections
If your peripheral behaves correctly across all these scenarios, you can confidently rule it out as the source of issues you’re seeing with real devices. At that point, your debugging focus shifts to the central side, which is exactly where it should be.
Where to Go From Here
LightBlue will get you through most BLE debugging scenarios, but not all. Sometimes the problem goes deeper: RF interference, antenna design flaws, edge cases tied to specific chipsets or OS versions. When you hit that wall, you may need more specialized tools, experience, and time than a baseline central can provide.
Where you go from here depends on what you’re working on. These guides can help you explore everything from platform fundamentals to advanced tooling:
- Debugging BLE Centrals with LightBlue
- LightBlue Use Cases to Ship BLE Faster
- BLE Security: Where to Begin When Creating a Connected System
- Android BLE: The Ultimate Guide to Bluetooth Low Energy
- Apple’s iOS Core Bluetooth: The Ultimate Guide
When you’re dealing with BLE challenges that go deeper than these guides, our team can help. We work with companies every day to diagnose and resolve complex peripheral and central issues. Reach out and let’s talk about what you’re building.


