
A package manager, also sometimes referred to as a dependency manager, is a tool that facilitates installing, updating, and configuring other code packages to make them available within your software. Many iOS developers will already be very familiar with package managers such as Carthage or CocoaPods. Each tool has been around for years, and there are many libraries and frameworks available for either tool.
Now, there is another option available: Swift Package Manager (SwiftPM). While SwiftPM has been around since Swift 3.0, it wasn’t until the release of Xcode 11 in the fall of 2019 that it became integrated into the IDE. Since SwiftPM is only beginning to get some traction, there may not be as many software packages that support it when compared to Carthage or CocoaPods.
Each of these package managers have their pros and cons. Swift Package Manager still has a bit of room to grow before it is as usable as the other options available today. In addition to not having as many packages that support it, SwiftPM doesn’t yet support resource files (images, data files, or other assets) being a part of a package in addition to code. But SwiftPM is under active development, and there is already an accepted proposal to add support for resource files.
Although SwiftPM isn’t quite ready to replace Carthage or Cocoapods, the fact that it’s a first-party tool from Apple that has integration within the Xcode IDE, there is a high likelihood that it will soon become the package manager of choice for development in the Apple ecosystem. That makes today a great time to learn how to use it.
Set Up and Add Swift Package Manager
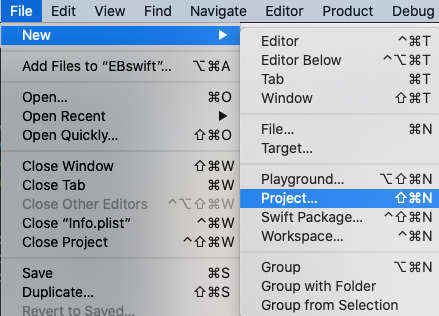
We’ll start with a fresh Xcode project. Open Xcode and create a new project. If you already have a project you’re working with, you can skip these first few steps.
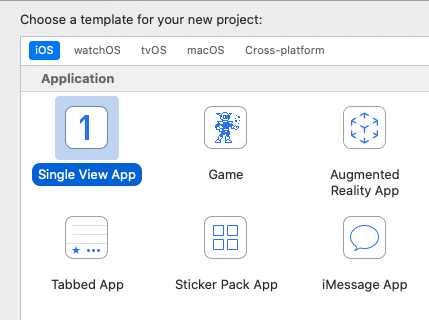
Then, select an iOS Single View App.
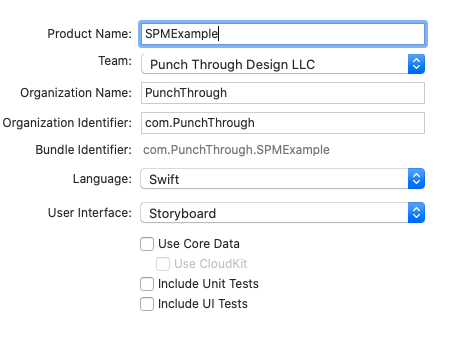
Fill in this form with information applicable to your project.
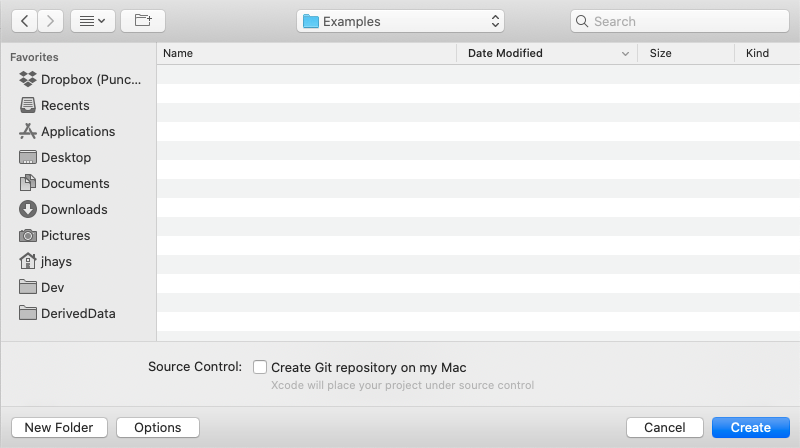
A dialog box will appear asking where you would like to save your project. Select where you would like to save the project and then click Create.
Now that you have a project set up, we’ll add a package with SwiftPM.
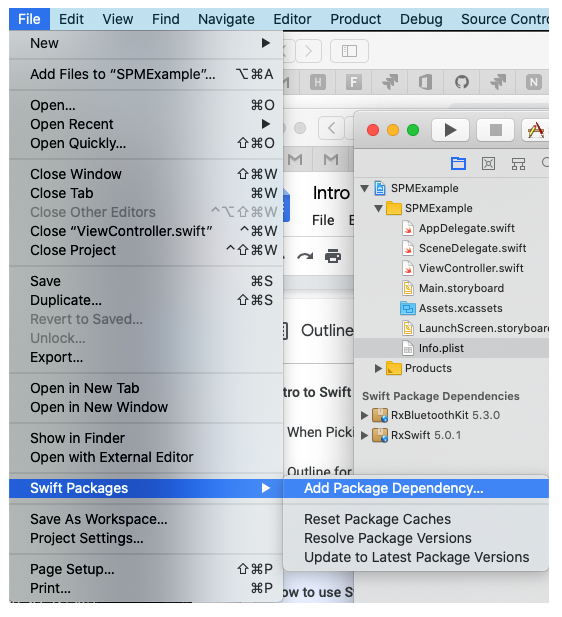
From the File menu, go to Swift Packages and select Add Package Dependency…
Enter the address of the repository for the package you wish to add. In my example, I’ll be adding a path to the GitHub repo of RxBluetoothKit, a ReactiveX style implementation for CoreBluetooth.
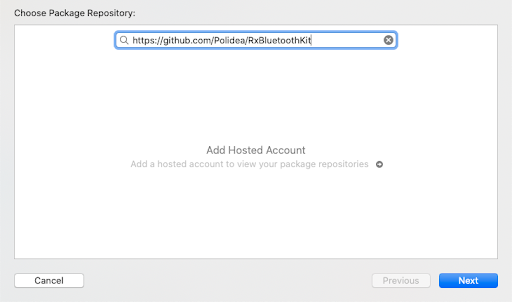
If you create your own SwiftPM packages, you can log into a hosted account such as GitHub or BitBucket, and browse through those packages here as well.
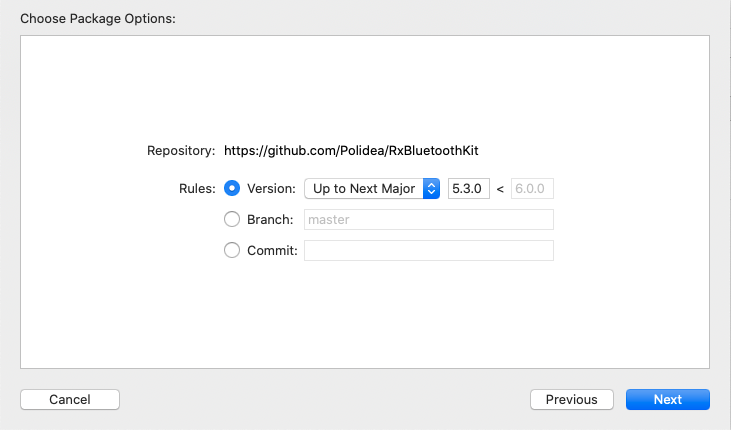
After you hit Next, you’ll see another form. From here you’re able to specify which version, branch, or commit hash you’d like to add as a dependency.
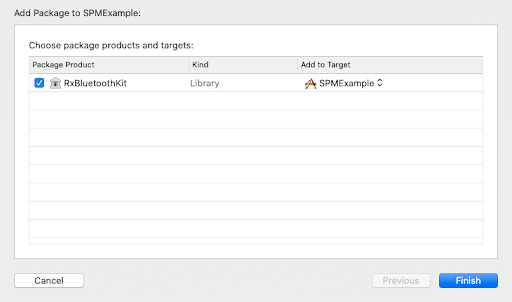
After you click Next, Xcode will fetch the dependency. In this final window, make sure the package you want to add is checked and the target you wish to add it to is selected from the dropdown.
After you click Finish, you’ll see that the added package is now listed in the navigator under a new section titled Swift Package Dependencies.
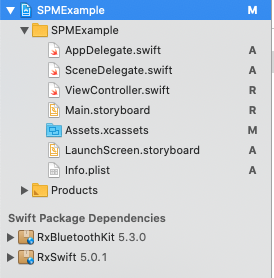
In this example, another package named RxSwift was also added. Xcode automatically added this to my dependencies because RxSwift is listed as a dependency for RxBluetoothKit.
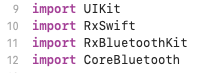
Now that your dependency has been added to your project, you can simply import the package wherever you’d like to use it.
If you need to remove a SwiftPM package from your project, you can select the project at the top of the navigator, then look for the tab titled Swift Packages. (It’s next to Build Settings).
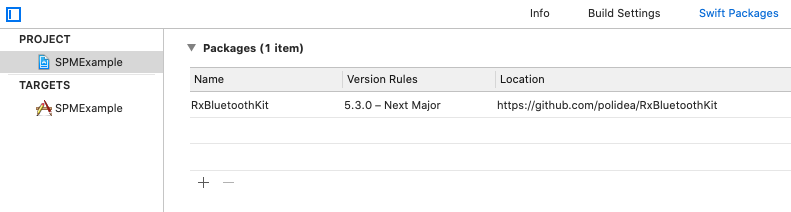
From here you can highlight the package you want to remove, and click the minus button. Clicking the plus button is another way to open the Add Package window. And that’s it! Wasn’t that easy? Unlike Carthage or CocoaPods, you don’t have to mess around with any files outside of Xcode, run any commands from the terminal, manually add any frameworks, and you’re not forced into using an .xcworkspace! Overall I think the SwiftPM experience built into Xcode is smooth and easy to use.
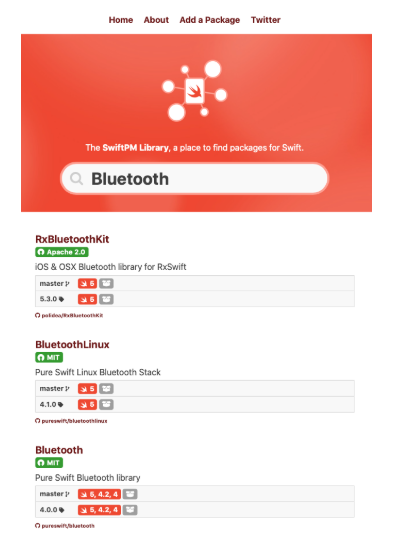
As far as finding available packages that support SwiftPM, there are some places on the web that facilitate package discovery, which allows you to search for packages that are compatible with SwiftPM on GitHub.
GitHub also announced last year that GitHub Package Registry will support SwiftPM Packages.
That’s it! I hope you enjoy using SwiftPM on your future projects.