Lightblue®
Your Ultimate BLE Debugging & Development Toolkit
For Mobile & Embedded Software Developers


Available on iOS, macOS, and Android.
Built for BLE Developers. Trusted by Thousands.

Behind the Tool
Purpose-built for developers.
LightBlue started in 2012 as an internal tool — something we built to help our team test and debug BLE devices while working on client projects. It was simple, but it worked really well, so we shared it with the community.
Over time, it spread quietly and organically into the hands of thousands of engineers around the world. Today, LightBlue is used across industries, from solo developers to engineering teams inside some of the world’s most respected tech and device companies.
We’ve kept it free because it should be. We’re not here to build an app business. We help pioneers build secure, innovative, connected solutions and tools like LightBlue that make that work easier.
Want to see the kind of projects LightBlue grew out of?
LightBlue Features
An All-in-One BLE Development Toolkit
LightBlue simplifies Bluetooth Low Energy development for mobile and embedded software. Test, debug, and prototype BLE functionality without the need for custom tools.


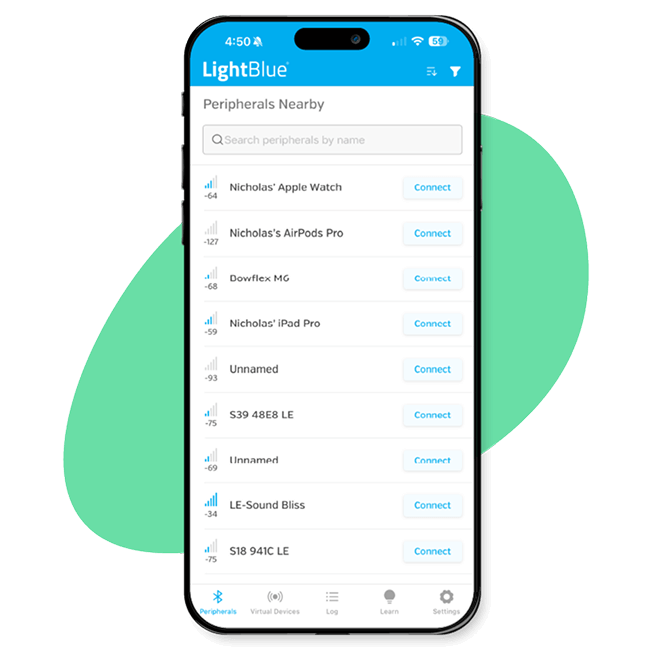
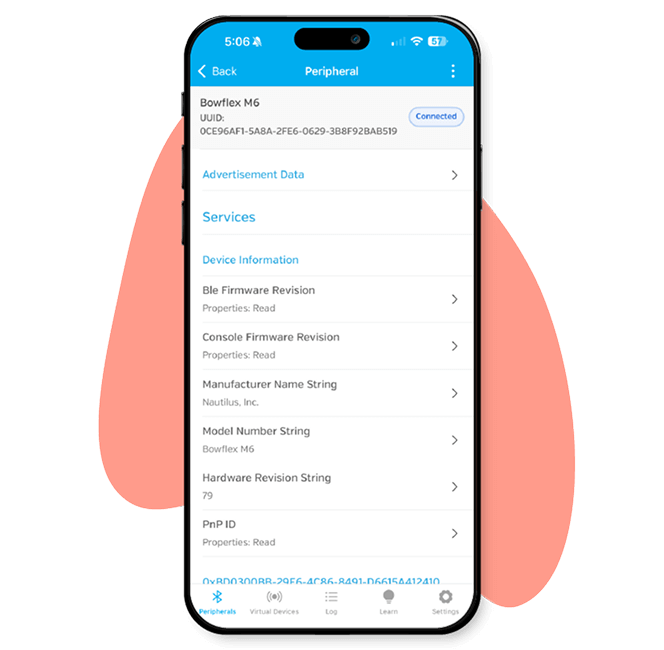
SCAN FOR PERIPHERALS
Discover, connect, and explore BLE peripherals near you.
LightBlue simplifies BLE scanning with a clean, intuitive interface. Quickly view advertising peripherals, sort by signal strength (RSSI), and connect with a single tap. Once connected, explore the device’s advertisement data, services, and characteristics.
With the ability to read and write data, subscribe to notifications, or isolate essential BLE functions, LightBlue gives you the tools you need to fully interact with your BLE peripherals.
Isolate SDK Issues
Simplify BLE debugging on macOS, iOS, and Android.
Dealing with BLE SDKs can be challenging, but LightBlue makes it easier by letting you isolate your app’s business logic and focus on core tasks like connecting, scanning, reading, writing, and receiving notifications.
Built on years of BLE development experience, LightBlue adheres to BLE best practices for platform APIs, ensuring a robust and reliable debugging process.
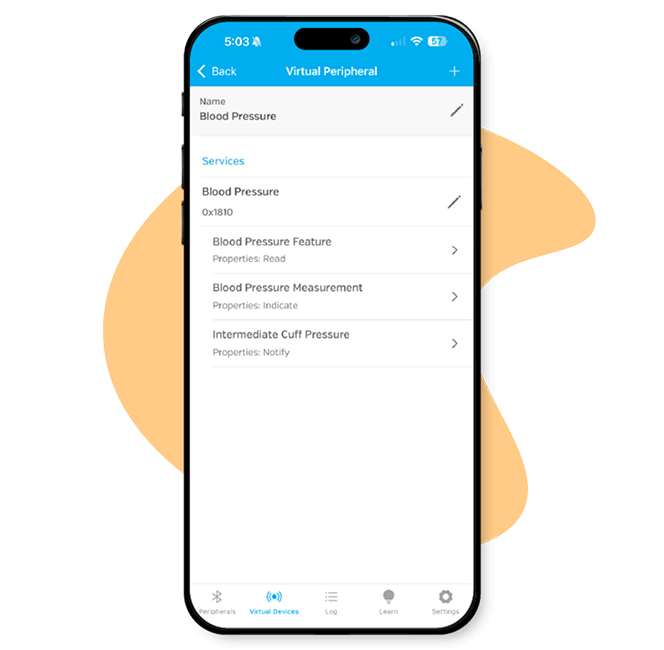
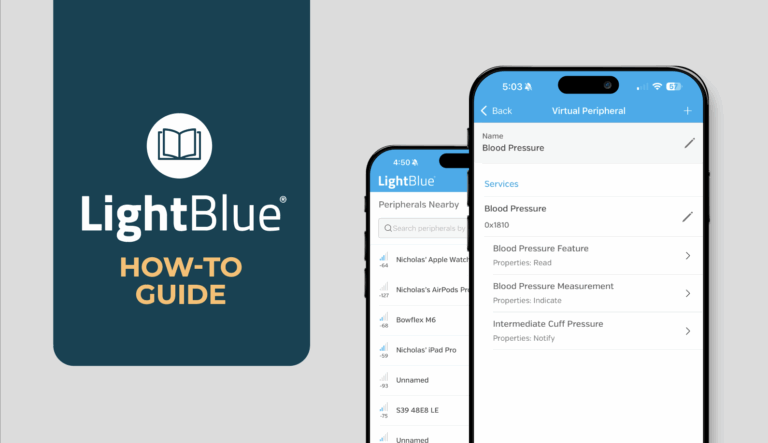
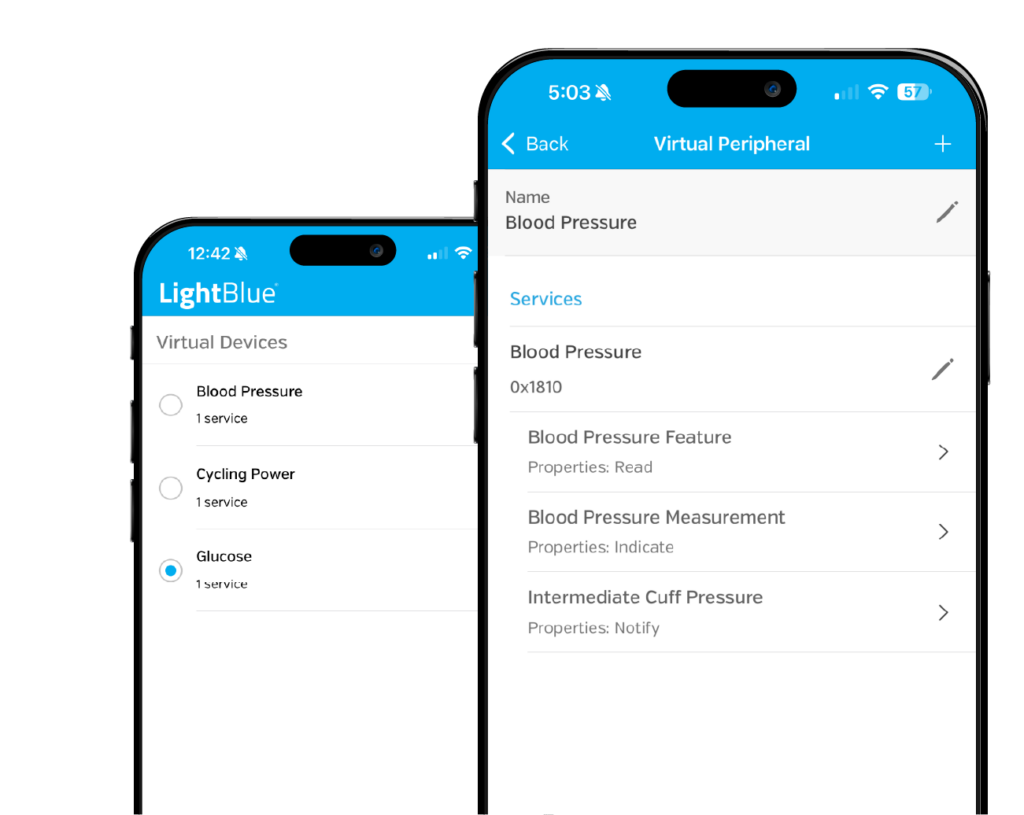
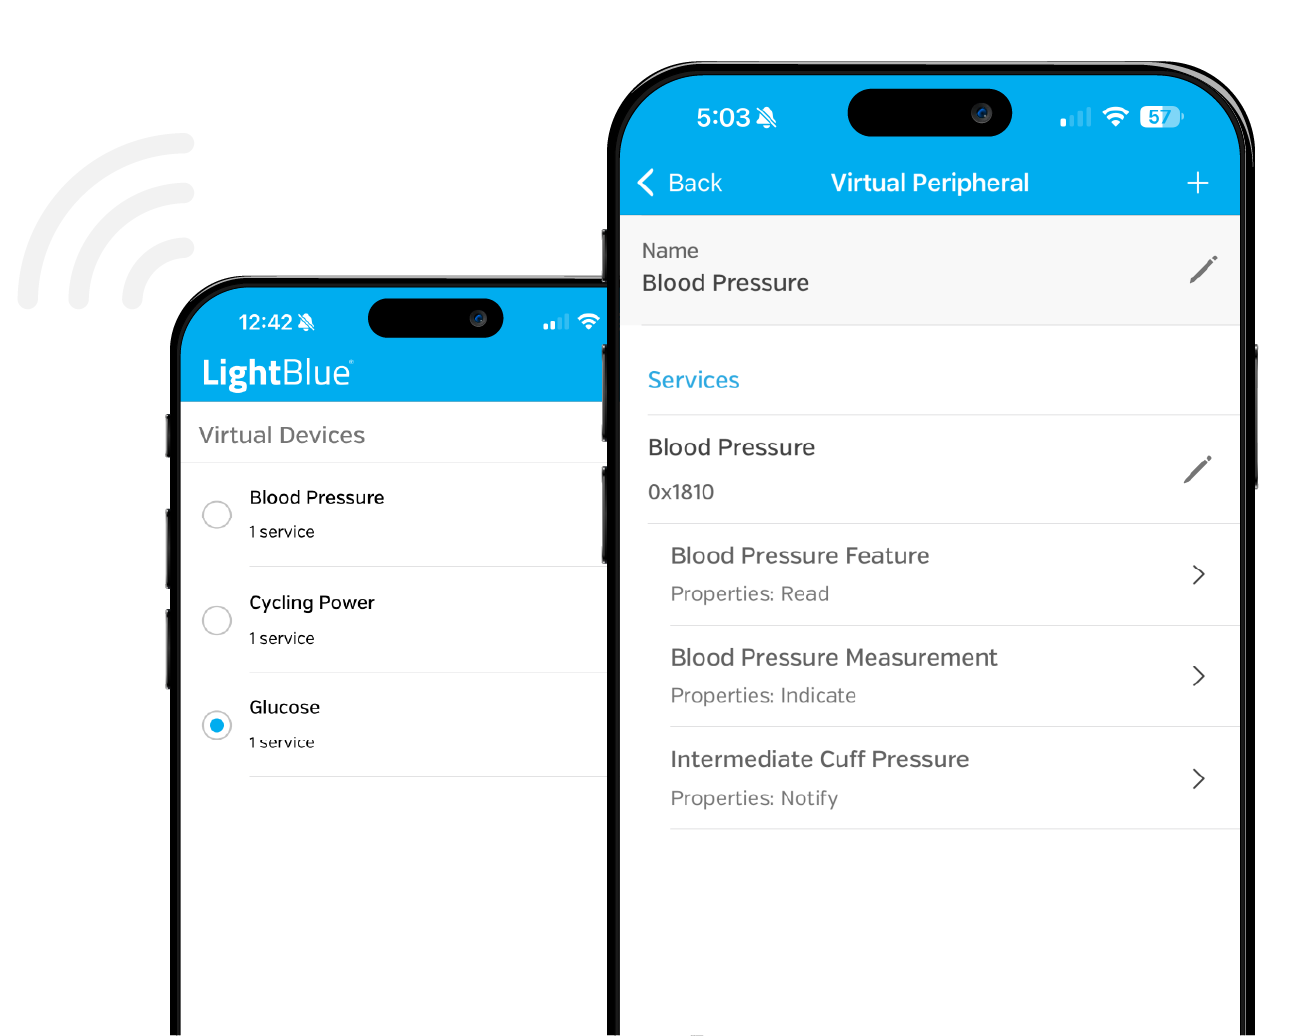
Mimic Devices
Emulate BLE peripherals for rapid prototyping.
LightBlue enables you to emulate BLE devices by adopting the central role and advertising specific services and characteristics. This feature allows you to prototype your app’s behavior even if your software isn’t ready yet.
Create a virtual peripheral profile from scratch or clone an advertising peripheral to mimic your product’s functionality, enabling faster and more efficient development.
Download Lightblue
Your Ultimate BLE Debugging & Development Toolkit
For Mobile & Embedded Software Developers
Available on iOS, macOS, and Android.
Make the most of the LightBlue app with these great articles.

LightBlue Cloud Connect: Send BLE Data to the Cloud Without Writing Code
LightBlue FAQ: Common Questions, Answered